You can connect with any external source and can create a list from that. In this example, I am going to show you how to create a list from the SQL server database.
The advantage is you not only can view, but also insert, update and delete as well using external content types.
You can create external lists from designer as well as browser. In this part we will see how to create it through the browser and then in next part we will see how to create with the help of designer.
But even to connect with a list from the external SQL server database, you must first create external content type from SharePoint Designer 2010.
So open the SPD2010 and click external content type and then create.
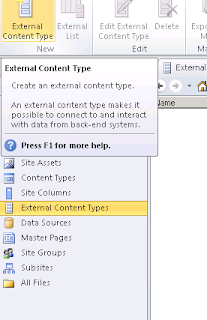
Click on the content type and see the screen that you get
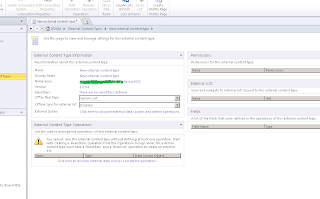
You will see name, display name, namespace, version, office item type, and office sync. Office related options are useful when your external list resembles the fields of outlook options. Like if you have contacts external list which has fields similar to the contacts outlook option; or calendar options, then you can select these options. For us we are going to use generic list. Because our list is different and does not resembles any structure with outlook options.
Click on the click here to discover the external data sources option.
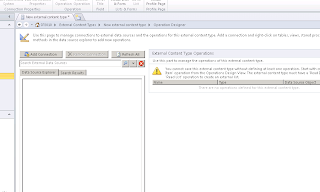
Now click on Add connection.
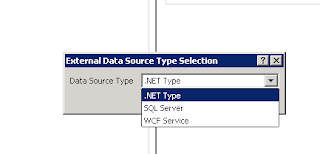
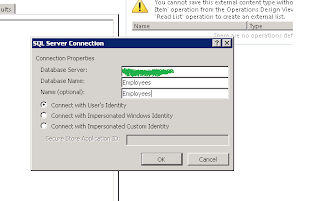
Select type SQL Server and specify database server and name.
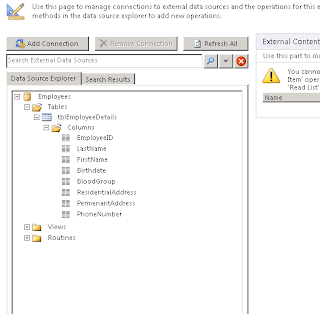
Once you are done with this, it will discover the tables. As of now I only have one table and hence It is showing only one.
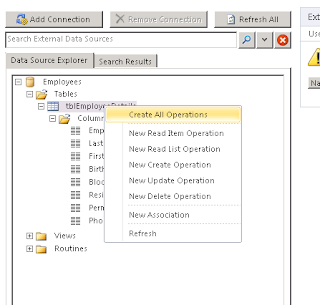
Now right click the table and select create all operations. Which will create insert, update, and delete operations.
As you can see following wizard comes up which shows you the operations being performed.
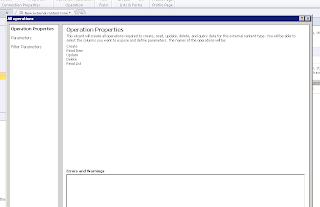
Have your at least one field set as map to identifier.
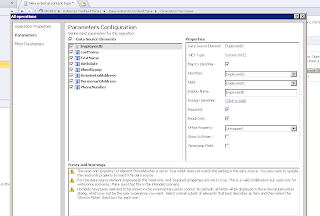
Click on next to set filter options. As you can see because external list table in our case may contains so many records and it is not advisable to return all records in one time and hence you can see by default warning message saying that you should at least mention limit as a filter parameters.
Add filter by clicking on add filter.
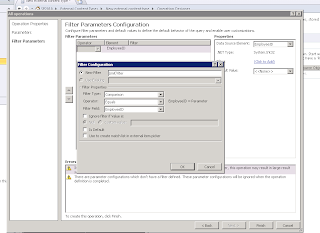
Click on Ok and then finish. Now we have our external content type set up.
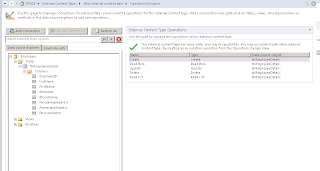
Click on save button to save the content type to Meta store.
Now go to your SharePoint site and create external list.
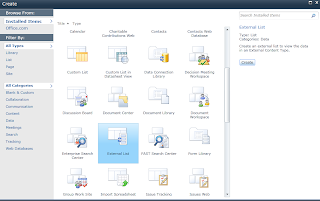
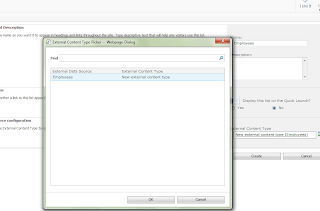
Click on create, so the list will be create. Now check that you might get this message.

Open central administration.
Application Management -> Manage Service Applications -> Business Data Connectivity Service
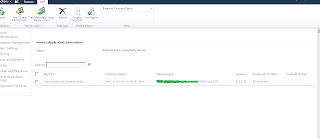
Now select content type and link on set metadata store permissions. Following screen appears.
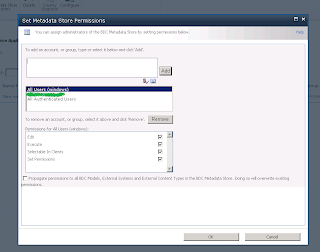
Now there is a possibility that you get blank section in the permissions for all Users (windows). Means you may not see any permissions listed in that block. Yes, and this is what I got. Well I also found a solution and the solution is to use PowerShell script.
PowerShell is a scripting language which is used to automate some tasks. It is same as how we write commands on the command prompt. But PowerShell has more power as name suggests.
Open run command prompt and type in PowerShell.exe and you get the PowerShell Window.
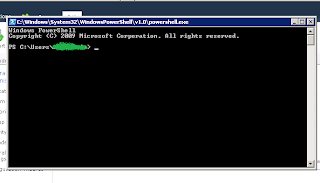
As you can see it starts with PS and it stands for PowerShell of course.
Now run these commands one after the other
$adminURL="HKLM:\SOFTWARE\Microsoft\Shared Tools\Web Server Extensions\14.0\WSS\"
$key = Get-Item $adminURL
$adminurl = $key.GetValue("CentralAdministrationURL")
Write-Host "Central admin site "+ $adminurl
Add-pssnapin Microsoft.SharePoint.PowerShell -ErrorAction SilentlyContinue
Write-Host Updating BCS persmissions
$obj = Get-SPBusinessDataCatalogMetadataObject -BdcObjectType Catalog -ServiceContext $adminurl
$right = (1+2+0x10+4)
$claim = New-SPClaimsPrincipal -Identity 'c:0!.s|windows' -IdentityType EncodedClaim
Grant-SPBusinessDataCatalogMetadataObject -Identity $obj -Principal $claim -Right $right
Copy-SPBusinessDataCatalogAclToChildren -MetadataObject $obj
Write-Host Complete
We would like to thank Jon for suggesting and coming up with this solution.
Once you perform the above step, you get the permissions in the metadata permission property box. Now assign permission to appropriate users and click on OK.
Now open the site and open the Employees list. Ok, surprise, one more error and this time it is following.

This error comes because when we create external content type in SharePoint designer 2010, it takes the user’s identity as authentication mode.
So let’s change the authentication mode from User’s identity to BDC Identity.
Open SPD2010 and open the external employee content type we created.
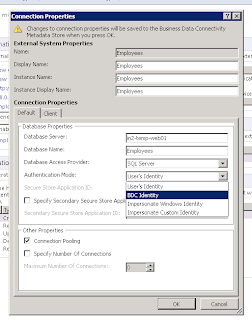
And now, we get this
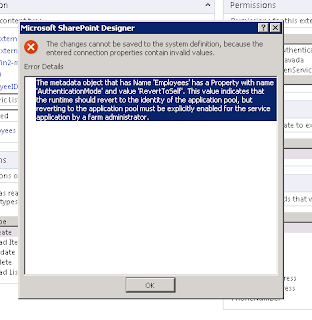
Wow, another error. It seems like we are facing so many problems. Well, after resolving problem and get the solution is indeed is a pleasure.
So let’s put a step forward to get a solution.
Now this time open Windows PowerShell modules by going to Start-Administrative Tools-Windows PowerShell Modules and use this script
$bdc = Get-SPServiceApplication | where {$_ -match "Business Data Connectivity Service"};
$bdc.RevertToSelfAllowed = $true;
$bdc.Update();
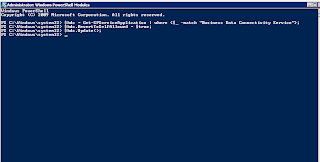
Now go to Employees external content type, open it and change it from User’s identity to BDC Identity and save it, this time it should not give you an error.
This should resolve this issue. As you can see we have set RevertToSelfAllowed to true through console. Because this property is by default set to false and it is disable in SPD2010. So we need to set it through the PowerShell.
And there we have it now. Open your site and open Employees List.

Click on New, enter the details
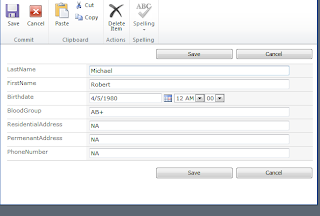
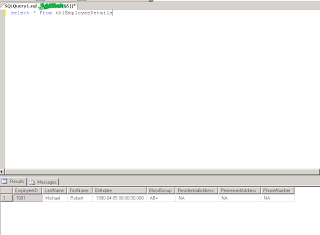
See, now we not only have the data in the list but also in SQL Server database.
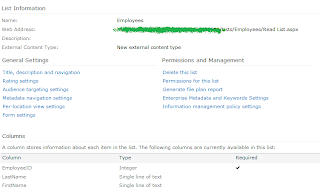
But yes, one very important thing to note here is that external lists neither participate in any event handlers nor participate in workflows. So if you see its settings page, you will not see any workflow options.
More to come. Stay tuned.


1 comment:
Really helpful. very well explained.
Post a Comment